Introduction
Have you ever noticed a strange plastic taste in your water, or perhaps a sudden drop in water pressure that you just can’t explain? Maybe you’ve spotted a small puddle forming under your sink where you recently upgraded the pipes. If you have modernized your home’s plumbing recently, you likely used PEX tubing. While PEX (cross-linked polyethylene) is hailed as a miracle material for its flexibility and affordability, it isn’t immune to issues. Like any system in your home, PEX plumbing problems can arise when you least expect them.
For many homeowners, the switch from copper to PEX felt like a major upgrade and in many ways, it is. PEX Plumbing Problems resists corrosion and is much easier to install. However, understanding the potential pitfalls is crucial for maintaining a healthy home. Ignoring small signs of wear or improper installation can lead to bigger headaches down the road.
In this guide, we’ll dive deep into the most common issues associated with PEX piping. We will cover everything from installation mistakes to environmental factors that degrade the material. Whether you are a seasoned DIY enthusiast or just a homeowner trying to save a few bucks on a plumber, this guide is for you.
What Exactly Is PEX and Why Does It Fail?
Before we jump into the specific PEX plumbing problems, let’s briefly touch on what makes PEX unique. Unlike rigid copper or PVC, PEX is flexible. This allows it to snake through walls and floors without as many joints or fittings. Fewer fittings generally mean fewer leak points.
However, PEX is a plastic material. This means it reacts differently to the environment than metal does. PEX Plumbing Problems expands and contracts more with temperature changes. PEX Plumbing Problems is sensitive to UV light. It is also permeable, meaning oxygen can sometimes pass through it (though barrier PEX prevents this). Understanding these properties helps you spot why failures happen.
Most failures aren’t actually the fault of the pipe itself. Instead, they often stem from how the pipe was handled, stored, or connected. Let’s look at the specific issues you might encounter.
Common PEX Pipe Issues You Should Know
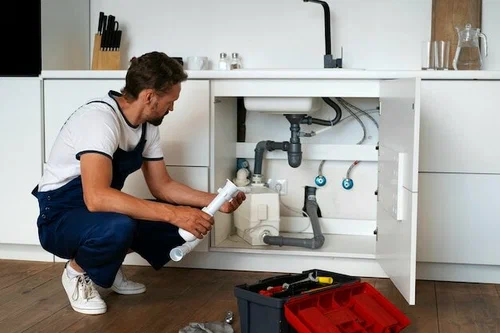
When diagnosing common PEX problems, you usually aren’t looking for a burst pipe in the middle of a run. PEX is incredibly durable against bursting, even when frozen. Instead, the trouble spots are usually at the connections or due to external damage.
1. De-zincification of Brass Fittings
This is a fancy term for a simple problem: corrosion. Many PEX systems use brass fittings to connect the tubes. If the water chemistry in your area is aggressive (highly acidic or basic), it can leach the zinc out of the brass fittings. This leaves a porous, weak copper shell that eventually leaks or snaps. If you see white powdery buildup on your fittings, you might be facing this issue.
2. UV Light Damage
PEX hates the sun. Prolonged exposure to UV rays breaks down the molecular structure of the plastic, making it brittle. If your PEX piping was stored outside before installation or is exposed near a window in your basement, it could crack prematurely.
3. Permeation and Chemical Leaching
While rare in modern, high-quality PEX, some older or lower-quality pipes have been known to leach chemicals into the water, causing an unpleasant taste or odor. Additionally, standard PEX allows oxygen to permeate the pipe walls, which can cause corrosion in iron components of your heating system (like boilers).
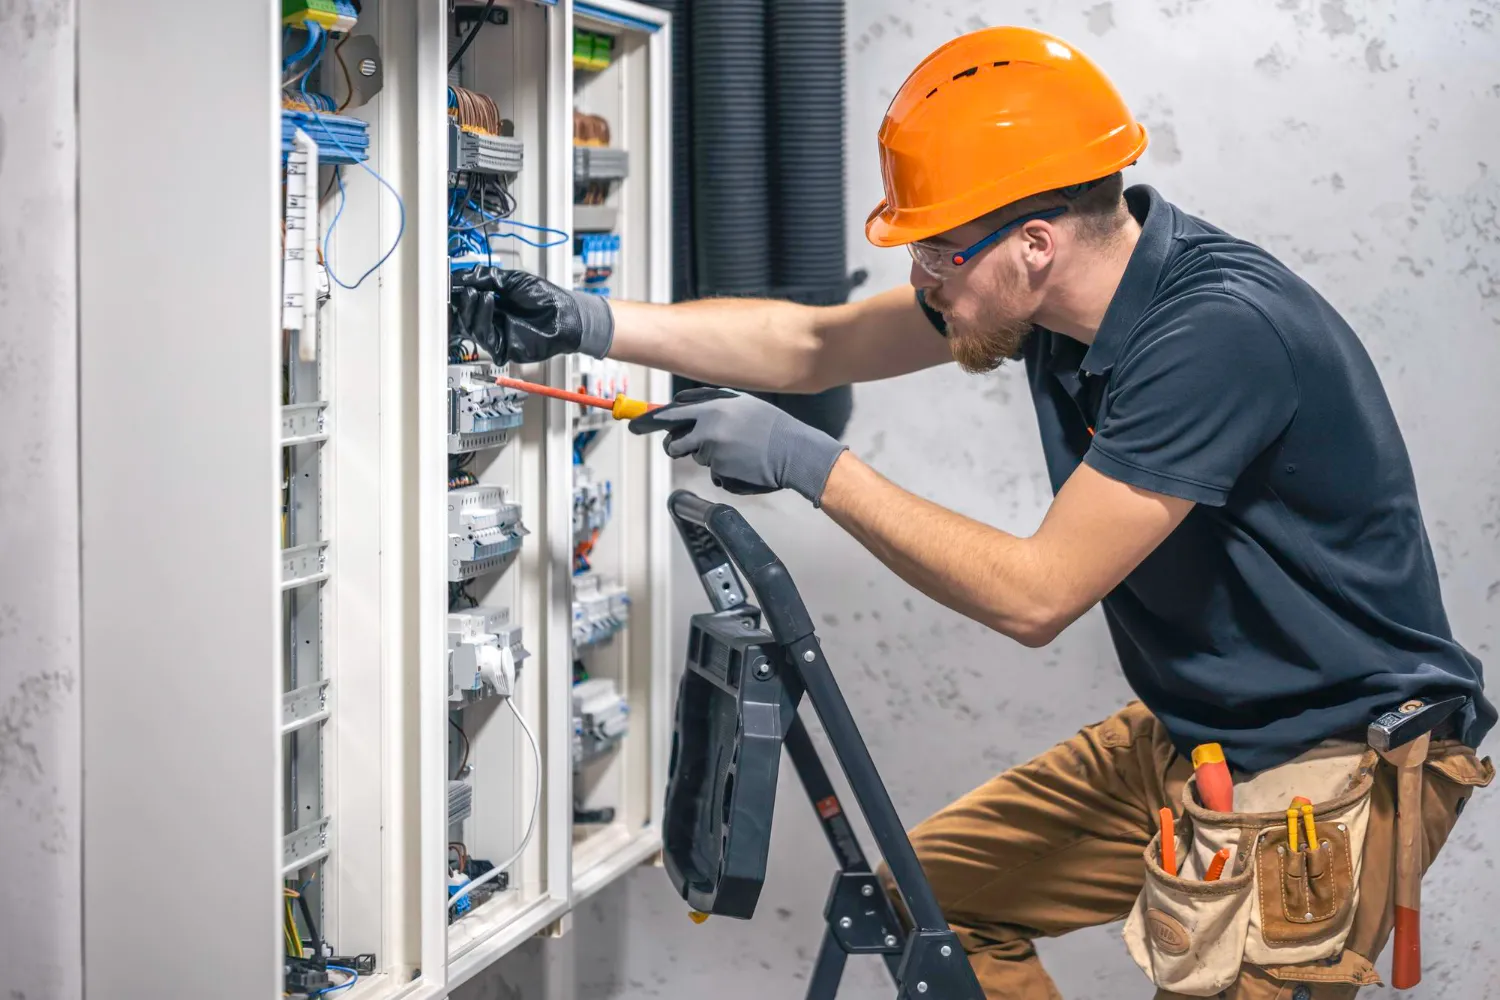
How to Identify Installation Mistakes
A huge chunk of PEX plumbing problems boils down to PEX installation mistakes. Because PEX Plumbing Problems is marketed as “easy to install,” many enthusiastic DIYers (and even some pros) rush the process and miss critical steps.
The “Go/No-Go” Gauge Failure
When using Crimp rings (metal rings squeezed around the pipe), you must use a “Go/No Go” gauge to check the connection.
- Too loose: The ring won’t hold the pipe on the fitting, leading to a blowout.
- Too tight: The crimp tool damages the pipe material, leading to cracks and leaks.
Many people skip this checking step, resulting in slow leaks that appear months later.
Improper Support
PEX is flexible, but PEX Plumbing Problems still needs support. PEX Plumbing Problems expands and contracts significantly with hot water. If PEX Plumbing Problems is strapped too tightly or not supported enough, the movement can cause the pipe to rub against framing (abrasion) or create noise (water hammer).
Kinking the Pipe
While PEX bends easily, bending it too sharply creates a kink. A kink creates a weak spot in the wall of the pipe. You can’t just un-kink it and hope for the best; the structural integrity is compromised.
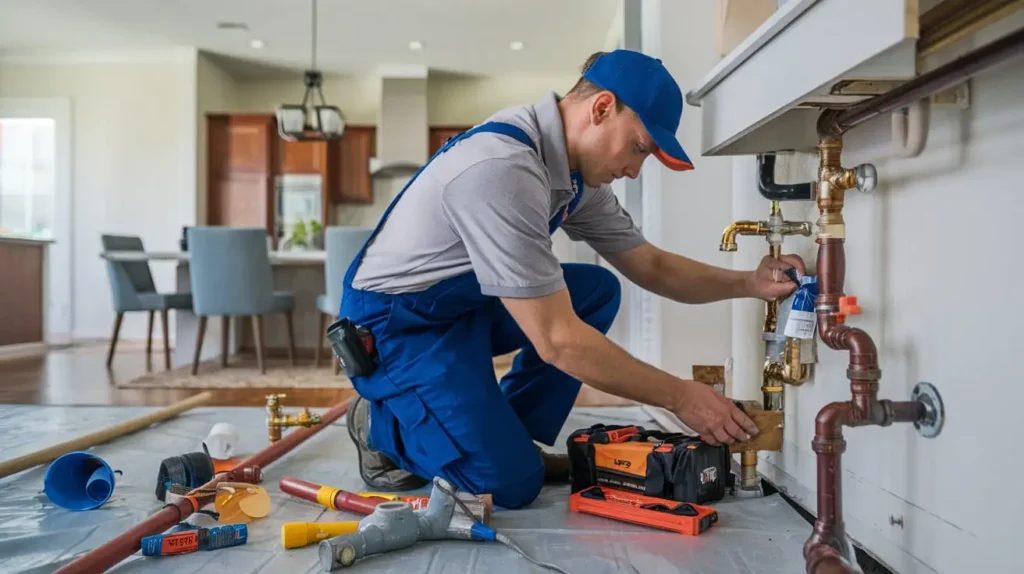
Step-by-Step: PEX Plumbing Repair Tips
If you’ve identified a leak or a bad connection, don’t panic. One of the best things about PEX Plumbing Problems is that PEX Plumbing Problems is repairable. Here are some PEX plumbing repair tips to guide you through fixing a leaky connection or damaged section.
Tools You Will Need:
- PEX tubing cutter (do not use a saw; you need a clean, square cut)
- PEX crimp tool or cinch clamp tool
- Crimp rings or cinch clamps
- Replacement PEX fittings (brass or poly)
- A “Go/No-Go” gauge
Step 1: Shut Off the Water and Drain
Locate your main water shut-off valve and turn it off. Open a faucet on the lowest floor of your home to drain the water from the lines. This prevents water from spraying everywhere when you cut the pipe.
Step 2: Cut Out the Damaged Section
Using your PEX cutter, make a clean, straight cut on either side of the damaged area or leaking fitting. Ensure the cut is perfectly perpendicular to the pipe. If the cut is jagged or angled, the new fitting won’t seal properly.
Step 3: Prepare the New Section
Measure the gap you just created and cut a new piece of PEX Plumbing Problems to length. Remember to account for the depth of the fittings. The pipe should insert fully into the fitting shoulder.
Step 4: Slide on the Rings
Slide a crimp ring over the existing pipe and another over your new patch piece. Do not crimp them yet.
Step 5: Insert the Fittings
Insert the fitting (coupler) into the existing pipe and the new patch pipe. The tubing should be pushed all the way until it hits the shoulder of the fitting.
Step 6: Position the Ring
Slide the crimp ring so it is positioned 1/8 to 1/4 inch from the end of the pipe. This positioning is critical. Too close to the end, and it won’t seal; too far back, and it misses the barbs on the fitting.
Step 7: Crimp and Check
Use your crimp tool to squeeze the ring tight. The tool should release automatically when the crimp is complete. Now, use your “Go/No-Go” gauge.
- The “Go” slot should slide over the ring.
- The “No-Go” slot should NOT slide over the ring.
If it fails this test, you must cut it out and try again.
Preventing Future PEX Headaches
Preventing PEX plumbing problems is easier than fixing them. Here are some easy plumbing fixes and maintenance habits to adopt.
- Check Exposed Pipes: Inspect any visible PEX Plumbing Problems in your basement or utility room annually. Look for signs of discoloration (yellowing can indicate UV damage) or chalky deposits on brass fittings.
- Watch What You Flush: PEX is smooth, resisting scale buildup, but your drains are still vulnerable. Avoid pouring harsh chemicals down drains, as splash-back or fumes can degrade plastic pipes over time.
- Monitor Water Pressure: High water pressure puts stress on connections. If your pressure is consistently above 80 PSI, install a pressure-reducing valve.
- Protect from Sunlight: If you have PEX pipes near a basement window, cover them with pipe insulation to block UV rays.
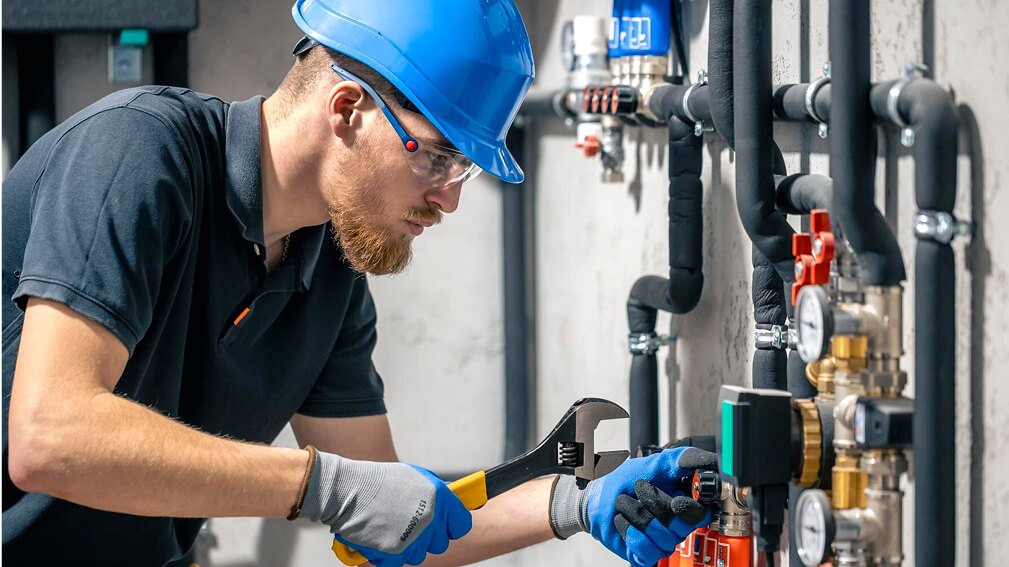
When to Call a Professional
We love DIY, but sometimes PEX plumbing problems require a pro. If you notice a widespread drop in water pressure throughout the house, it could indicate a systemic issue with the manifold (the central hub of a PEX system). Manifolds can be complex to replace.
Additionally, if you suspect your brass fittings are de-zincifying (corroding), this might require repiping large sections of your home. This is a massive job that often requires opening up walls. In these cases, the expertise of a licensed plumber is worth the investment to ensure your home’s safety.
Conclusion
PEX has revolutionized modern plumbing, making it accessible for the average homeowner to tackle repairs and upgrades. However, like any material, it has its limitations. By understanding the root causes of PEX plumbing problems from UV damage to poor installation practices you can take proactive steps to protect your home.
Don’t let a small drip turn into a flooded basement. Regular inspections and knowing how to perform basic repairs with the right tools will keep your water flowing smoothly. Remember, the key to successful plumbing is patience and precision. Take your time, measure twice, and always check your crimps.
Check our other plumbing guides for more DIY tips to keep your home in top shape!
Frequently Asked Questions (FAQ)
1. Can PEX pipes freeze and burst?
PEX is much more resistant to freeze-damage than copper or PVC because it can expand. However, it is not freeze-proof. If water inside freezes and expands enough, the pipe can still split, or the pressure can push fittings apart. Always insulate pipes in unheated areas.
2. Is it better to use plastic or brass fittings with PEX Plumbing Problems?
Plastic (poly) fittings are immune to the de-zincification corrosion that affects brass. They are generally cheaper and very durable. However, brass fittings are stronger and can withstand higher impact. For areas with aggressive water quality, plastic fittings are often the safer choice.
3. How long does PEX plumbing last?
When installed correctly and protected from UV light, PEX piping is expected to last 40 to 50 years. Some manufacturers offer warranties ranging from 25 years to a lifetime, provided the installation standards are met.
4. Can I connect PEX directly to my water heater?
No. You should not connect PEX directly to a gas water heater flue or within the first 18 inches of the water heater outlet. The extreme heat can damage the plastic. Use a copper or stainless steel flex line for the first 18 inches, then transition to PEX.
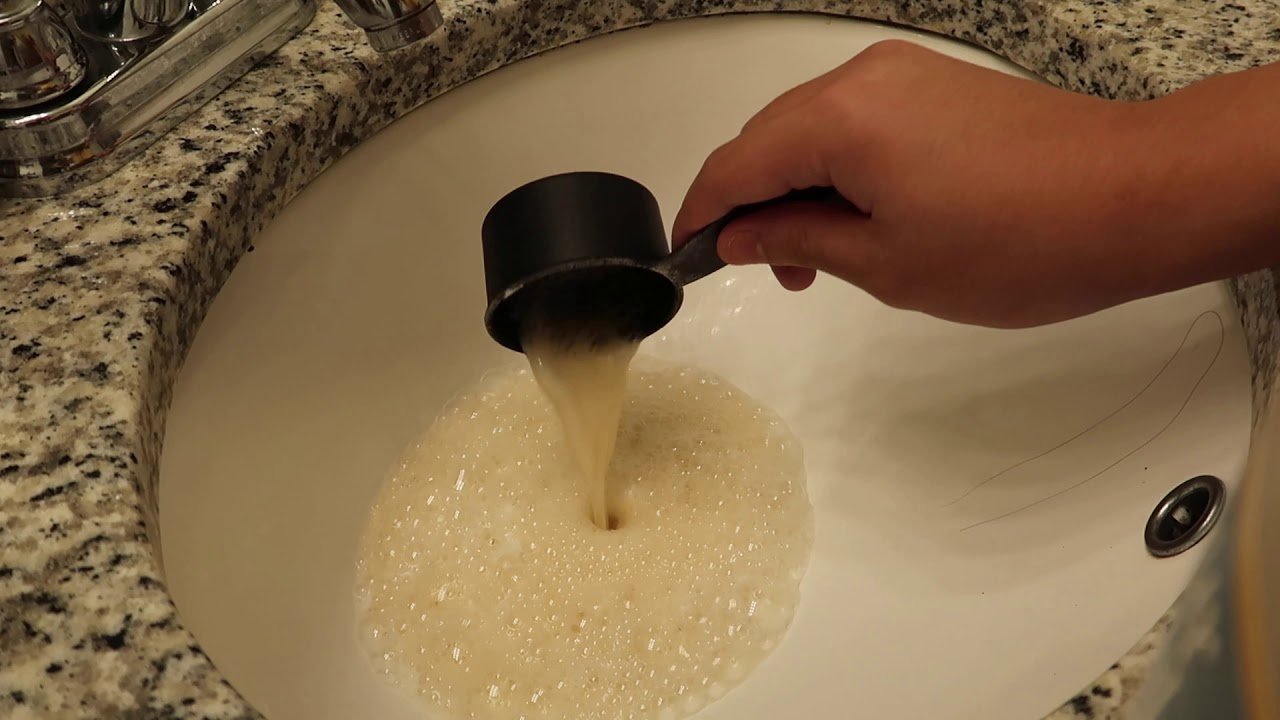
5. Why does my PEX water taste like plastic?
This can happen with new PEX installations. It is usually temporary and should fade as water flushes through the system. If the taste persists, it could be due to water sitting in the pipes for long periods (stagnation). Flushing your taps for a minute before use can help.