Introduction
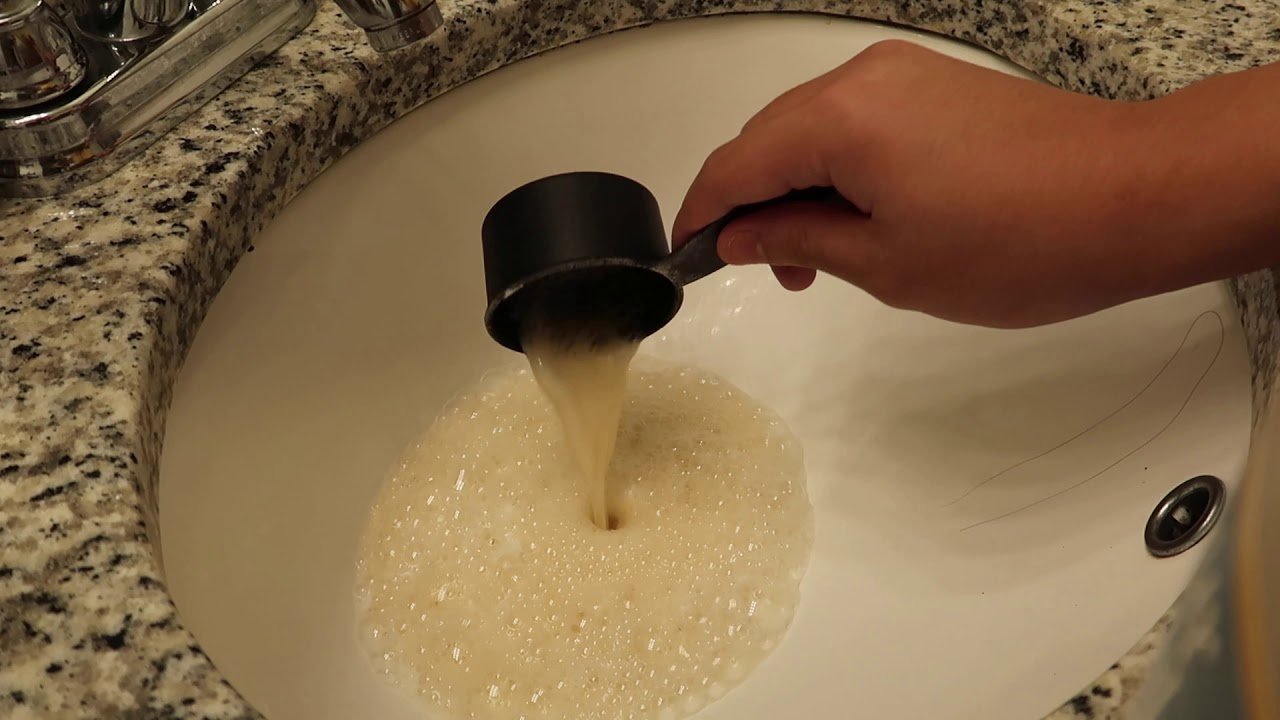
Is there anything more annoying than the steady drip, drip, drip of a leaky faucet keeping you awake at night? It’s a nuisance during the summer, but when temperatures drop, that small drip can turn into a major headache. As a homeowner, you are likely already worried about frozen pipes and heating bills. The last thing you need is to ignore one of the most manageable yet risky issues in your home.
Many people don’t realize that a simple leak can escalate when the cold weather hits. In fact, ignoring minor leaks is one of the underlying causes of common winter plumbing problems. A dripping outdoor spigot can create an ice slick or cause a pipe to burst, while an indoor leak wastes gallons of water and puts unnecessary stress on your plumbing system when it’s already working overtime.
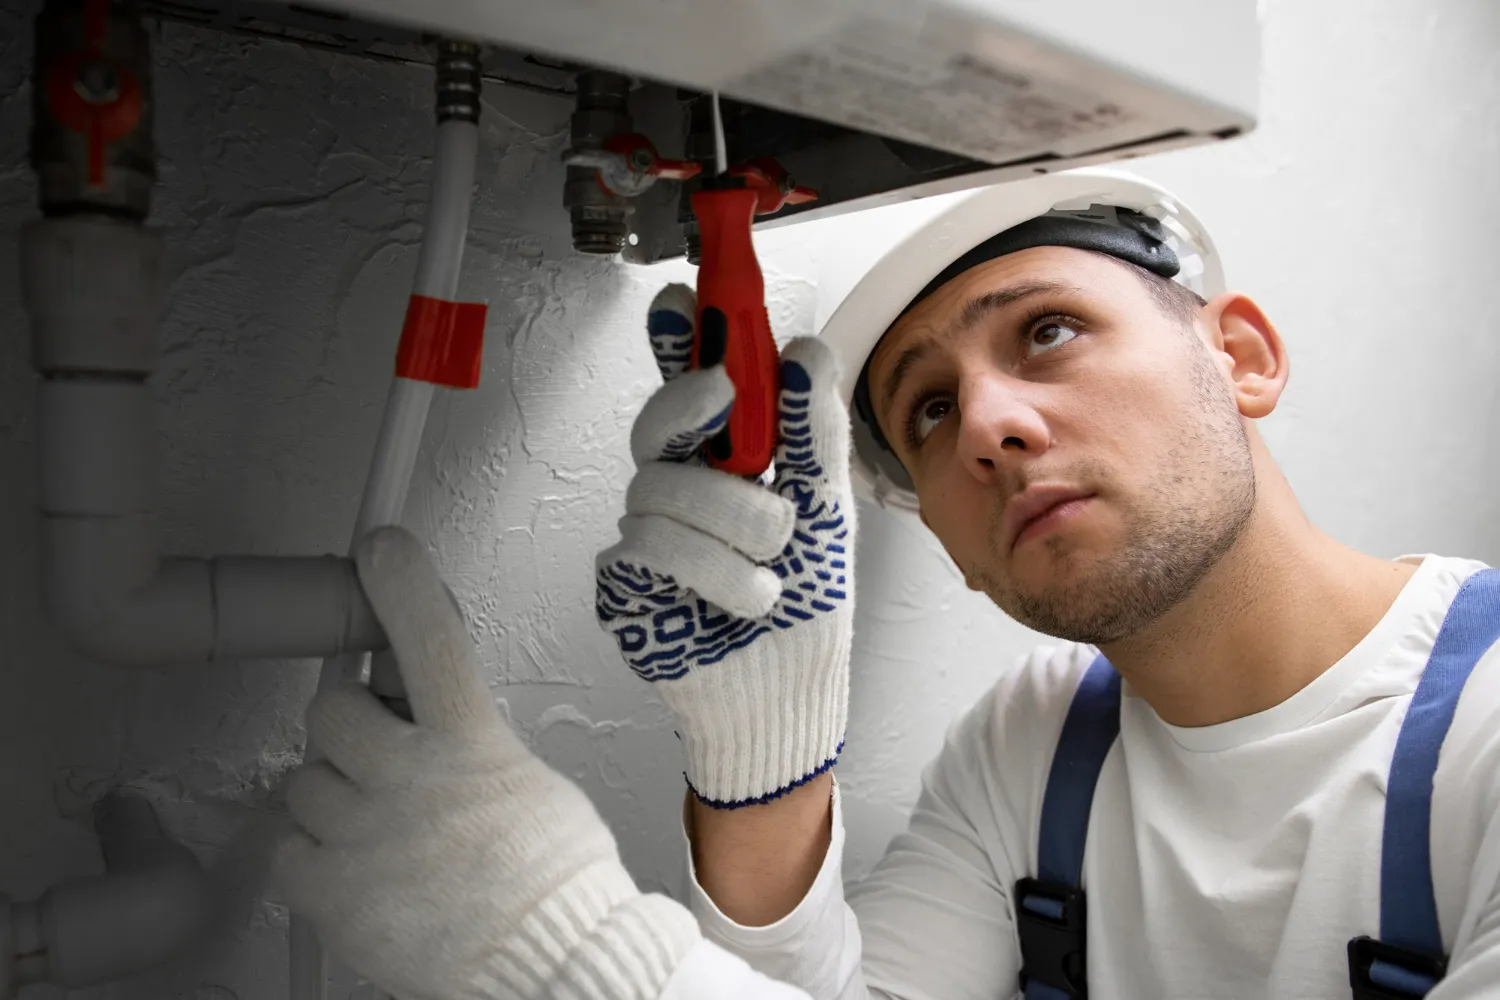
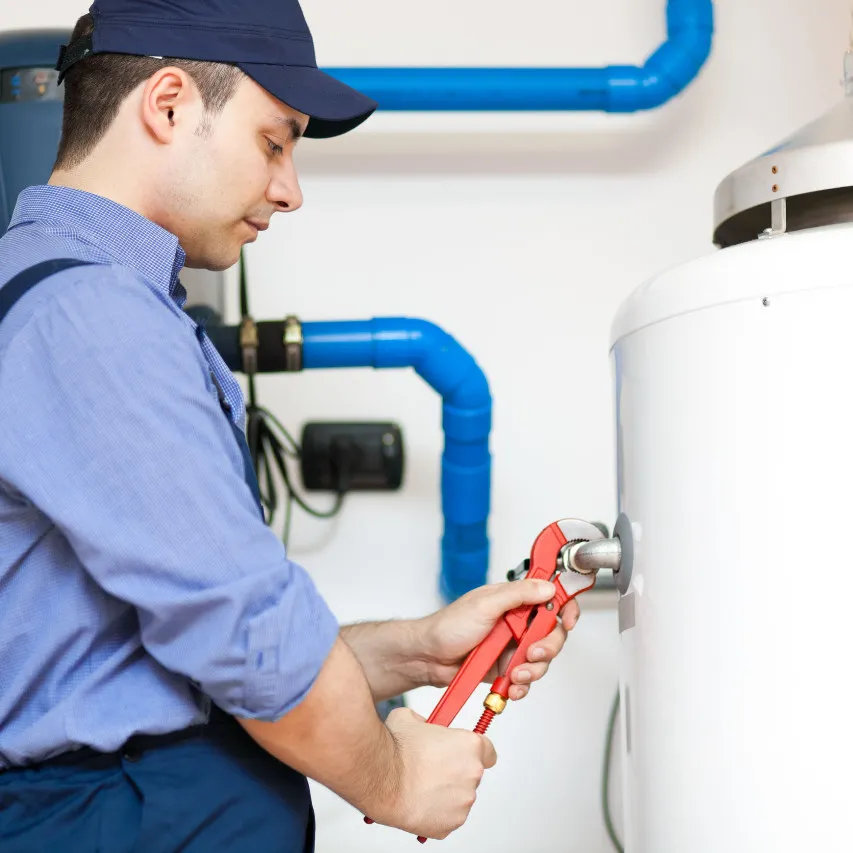
Fixing a leaking faucet is a crucial skill for any DIY enthusiast. It saves you money on your water bill, prevents water damage, and gives you peace of mind during the freezing months. In this guide, we will walk you through everything you need to know to tackle this repair yourself.
Why a Leaking Faucet Is a Winter Risk
When we think about common winter plumbing problems, we usually imagine catastrophic pipe bursts or frozen drains. However, the humble leaky faucet is often the villain behind the scenes. Water that trickles constantly can freeze if it’s near an exterior wall or outside, leading to ice blockages that expand and crack your piping.
Taking care of common winter plumbing problems before the first deep freeze isn’t just about stopping the noise; it’s about winter-proofing your home. By performing a little DIY faucet repair now, you safeguard your property against the harsher elements of the season.
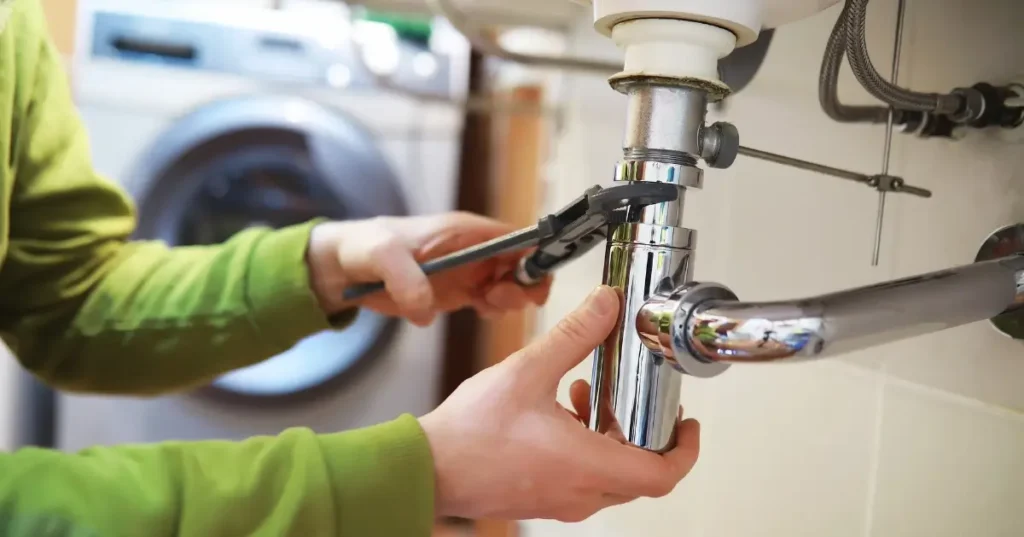
Gathering Your Faucet Repair Tools
Before you dive under the sink, you need to have the right gear. There is nothing worse than turning off your water supply only to realize you are missing a screwdriver. To fix a leak effectively, you don’t need a van full of expensive equipment. Most of these items are likely already in your toolbox.
Here is a checklist of essential faucet repair tools:
- Adjustable Wrench: This is your best friend for loosening nuts without stripping them.
- Phillips and Flathead Screwdrivers: You will need these to remove the handle caps and the screws holding the handle in place.
- Allen Wrench (Hex Key) Set: Many modern faucets use small hex screws to secure the handle.
- Replacement Parts: This might include O-rings, washers, or a replacement cartridge, depending on your faucet type.
- Plumber’s Grease: This helps lubricate rubber parts and creates a better seal.
- Clean Rags: To wipe up spills and place in the sink drain (more on that later).
- Flashlight: It can get dark under those handles.
Identifying Your Faucet Type
Not all faucets are built the same. Before you can stop a dripping faucet, you need to know what kind of mechanism you are working with especially taking care of common winter plumbing problems. Generally, there are four main types used in homes:
- Compression Faucets: These are the traditional faucets with two handles (one for hot, one for cold). You feel a tightening sensation when you shut them off. They use rubber washers to stop the water flow.
- Ball Faucets: Common in kitchen sinks, these have a single handle that moves over a rounded ball-shaped cap.
- Cartridge Faucets: These can be single or double-handle. They feel smooth when you turn them and stop without tightening.
- Ceramic Disc Faucets: These are high-quality, modern fixtures that use a ceramic cylinder. They are durable but can still leak if the seals wear out.
Identifying your common winter plumbing problems you buy the correct repair kit at the hardware store.
Step-by-Step Guide: How to Fix a Leaking Faucet
Now, let’s get to work. We are going to focus on the most common winter plumbing problems, repair’s cenario: replacing a washer or cartridge. Follow these steps carefully to resolve one of those annoying common winter plumbing problems.
Step 1: Turn Off the Water Supply
Never try to repair a fixture under pressure. Look underneath your sink for the shut-off valves. Turn them clockwise until they are tight. If you don’t have isolation valves under the sink, you will need to turn off the main water supply to the house. Once off, open the faucet handles to drain any remaining water in the line.
Step 2: Plug the Drain
This is one of those common winter plumbing problems tips that professionals swear by. Place a rag over the drain hole or use a sink plug. Small screws and O-rings love to fall down drains, and retrieving them turns a 15-minute job into a two-hour nightmare.
Step 3: Remove the Handle
Locate the screw that holds the handle in place. On older faucets, this is right on top. On newer models, it is often hidden under a decorative cap (which usually indicates “H” or “C”).
- Use a flathead screwdriver to gently pry off the decorative cap.
- Use your screwdriver or Allen wrench to remove the screw.
- Gently pull the handle up and off. If it’s stuck due to mineral buildup, try wiggle it gently or use a specific handle puller tool if necessary.
Step 4: Access the Inner Mechanism
Once the handle is off, you will see the inner assembly.
- For Compression Faucets: You will see a packing nut. Use your adjustable wrench to loosen and remove this nut. Then, unscrew the stem assembly by turning it in the same direction you would to turn on the water.
- For Cartridge/Ball/Disc Faucets: You may need to remove a common winter plumbing problems retaining clip or a bonnet nut. Pull the cartridge straight up and out.
Step 5: Inspect and Replace Parts
This is the moment of truth. Inspect the parts you just removed.
- Washers: If you have a compression faucet, look at the rubber washer at the bottom of the stem. Is it cracked, flat, or shredded? This is likely the culprit. Remove the screw holding it and swap it for a new one.
- O-Rings: These are the thin rubber rings on the body of the stem or cartridge. If they look worn or brittle, replace them.
- Cartridges: If the entire cartridge looks corroded or cracked, it is best to replace the whole unit. Bring the old one to the store to ensure you get an exact match.
Pro Tip: Coat your new O-rings and washers in a little plumber’s grease before installing them. This keeps them flexible and helps create a watertight seal.
Step 6: Clean the Valve Seat
Reach into the faucet body with your finger or a flashlight. The “seat” is where the washer presses down to stop the water. If this brass area is rough or pitted, a new washer won’t seal properly. You can use a valve seat dresser tool to smooth it out, or replace the seat entirely if it’s removable (use a seat wrench for this).
Step 7: Reassemble the Faucet
Put everything back together in the reverse order.
- Insert the stem or cartridge.
- Tighten the packing nut or bonnet (do not overtighten, or you might crack the brass).
- Reattach the handle and screw it in.
- Pop the decorative cap back on.
Step 8: Test Your Work
Turn the water supply back on slowly. Check for leaks around the base of the handle. Turn the faucet on and off a few times to flush out any air. If the dripping has stopped, congratulations! You have successfully tackled the repair.
Common Mistakes to Avoid
Even though this is a straightforward DIY faucet repair, things can go wrong. Here are a few pitfalls to watch out for:
- Overtightening Nuts: You might think tighter is better, but overtightening can crack ceramic discs or strip threads. Snug is enough.
- Ignoring the Seat: If you replace the washer but leave a damaged seat, the leak will return in a few days.
- Buying the Wrong Parts: Faucet parts are not universal. Always take your old parts to the store to compare them side-by-side.
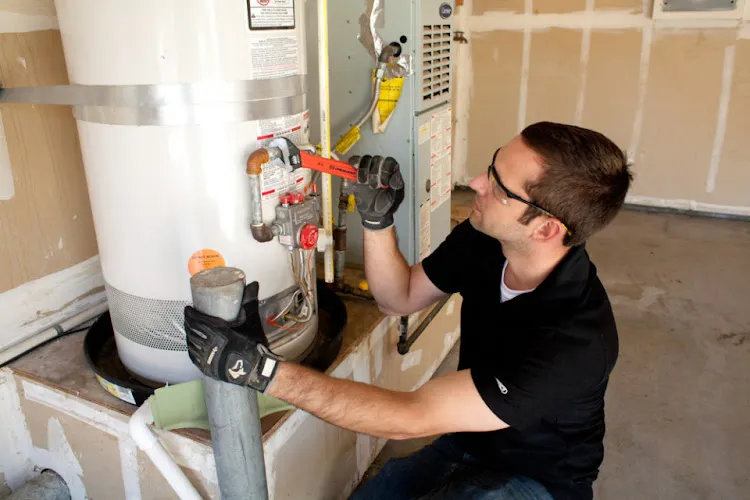
Maintenance Tips for Winter
Now that you’ve fixed the leak, how do you prevent future common winter plumbing problems?
- Insulate Pipes: Any pipe in an unheated area (like a basement or garage) should be wrapped in foam insulation.
- Disconnect Hoses: Always disconnect garden hoses from outdoor faucets in the winter. If water trapped in the hose freezes, it can burst the faucet inside the wall.
- Keep Cabinets Open: On extremely cold nights, open the cabinet doors under your sinks to let warm house air circulate around the pipes.
Conclusion
Taking care of your home’s common winter plumbing problems doesn’t always require a professional call-out. By addressing small issues like a dripping faucet, you actively prevent larger, more expensive common winter plumbing problems. Not only have you saved water and money, but you’ve also reduced the risk of ice-related damage during the cold season. to prevent common winter plumbing problems.
We hope this guide empowers you to grab your wrench and tackle those leaks with confidence. Remember, regular maintenance is the key to a happy home. Keep an eye on your fixtures, insulate your pipes, and don’t be afraid to get your hands a little dirty.
Check our other plumbing guides for more DIY tips and tricks to keep your home running smoothly all year round!
Frequently Asked Questions (FAQ)
1. Why does my faucet leak more in the winter?
Cold temperatures can cause rubber washers and O-rings to contract and harden. If these parts were already worn out, the cold weather is often the final straw that causes the seal to fail, leading to leaks.
2. Can a dripping faucet cause pipes to freeze?
Yes, especially with outdoor faucets. A slow drip can form an ice blockage in the pipe or near the drain. As the ice expands, it can put immense pressure on the pipe, eventually causing it to burst.
3. Do I need to turn off the water to the whole house to fix a faucet?
Not usually. Most modern sinks have isolation valves located directly underneath them in the cabinet. You only need to turn off the main water supply if these valves are missing or seized up.
4. How do I know what size washer I need?
Washers come in many sizes and are often not labeled clearly on the faucet itself. The best method is to remove the old washer and take it to the hardware store to find an exact match.
5. Is it better to repair or replace a leaking faucet?
If the faucet is old, corroded, or has been repaired multiple times, it might be more cost-effective to replace the entire fixture. However, for most common winter plumbing problems, a simple repair kit is all you need.