Draining your water heater is one of the simplest ways to extend its life, improve efficiency, and avoid costly repairs. Over time, sediment and mineral buildup settle at the bottom of the tank, reducing heating performance and causing strange noises, leaks, and even premature failure.
If you’ve ever wondered how to drain a water heater safely, this step-by-step guide will walk you through the entire process even if you’re a beginner. Whether you have an electric or gas unit, learning how to flush your water heater can save you money and prevent unexpected breakdowns.
Why You Should Drain Your Water Heater
Many homeowners ignore their water heater until it stops working. But routine maintenance—especially draining can prevent most common problems.
Here’s why draining your water heater is important:
- Removes sediment buildup
- Improves heating efficiency
- Reduces strange popping or rumbling noises
- Prevents corrosion and tank damage
- Extends the lifespan of the unit
- Helps maintain consistent hot water
Sediment acts like insulation at the bottom of the tank. Your heater has to work harder, which increases energy bills and wear on internal components. Flushing the tank keeps everything running smoothly.
Tools You Need Before Draining
Before you start, gather the following items:
- Garden hose (long enough to reach a drain or outdoor area)
- Bucket (optional)
- Flathead screwdriver
- Work gloves
- Towels or rags
Make sure the drain area can handle hot water. An outdoor driveway or floor drain is ideal.
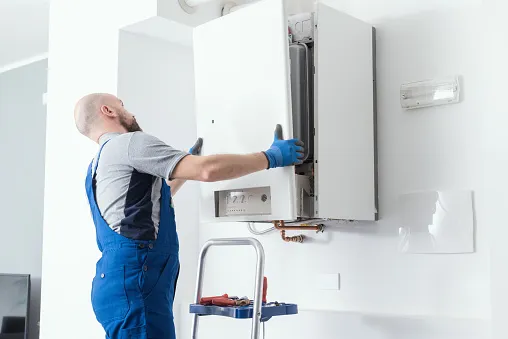
How to Drain a Water Heater (Step-by-Step)
Follow these steps carefully to drain your water heater safely and effectively.
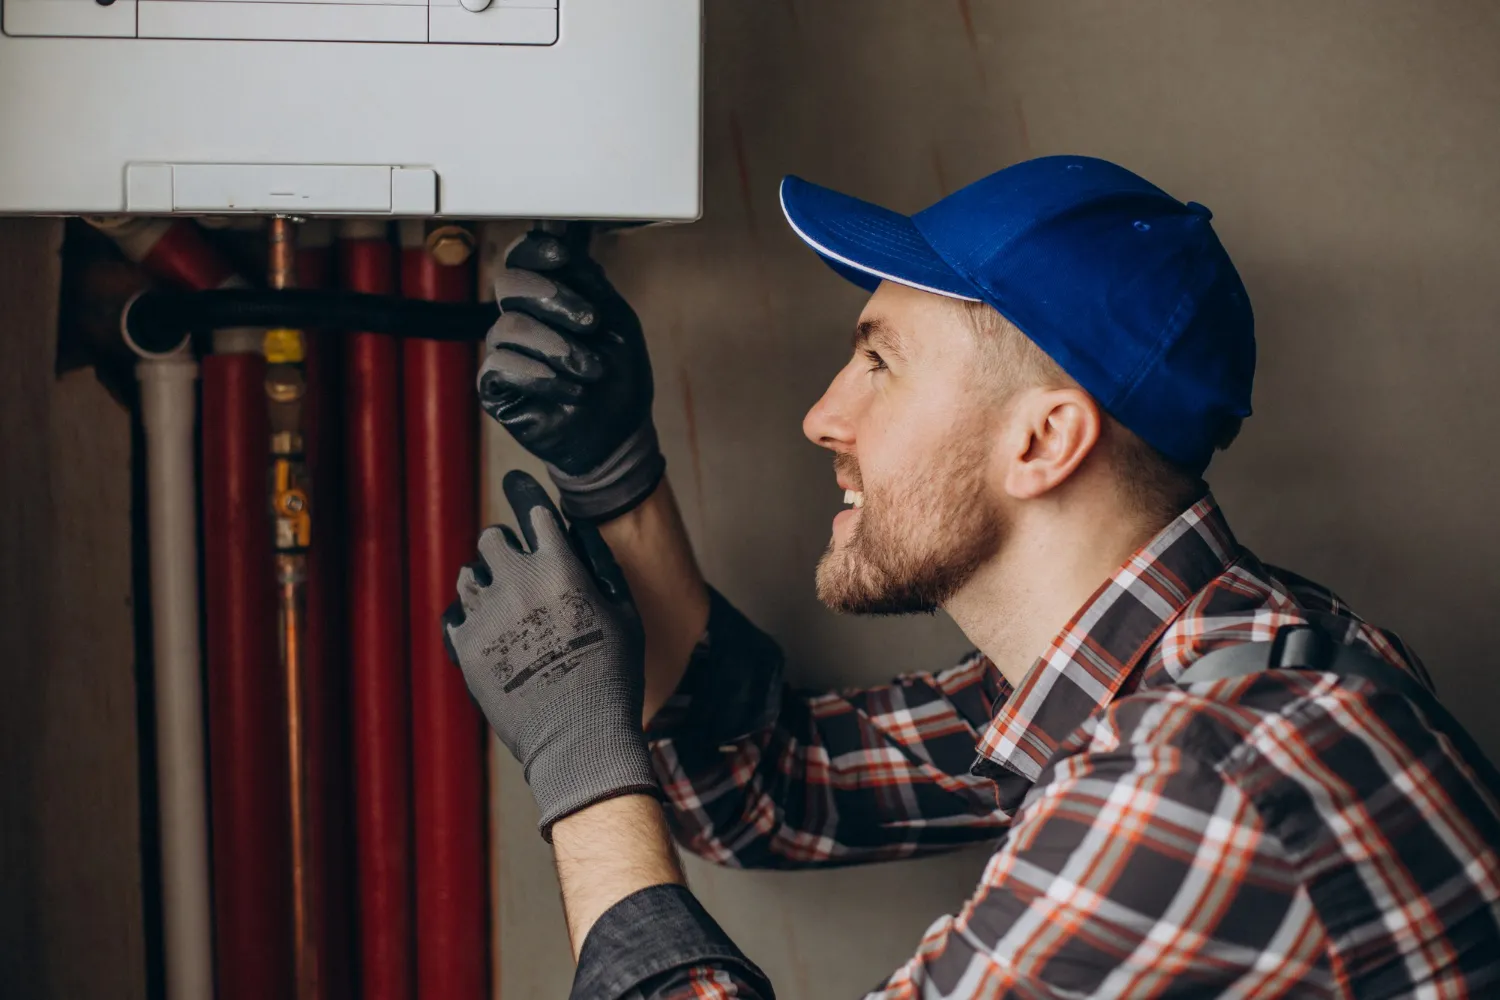
1. Turn Off Power or Gas
Safety comes first.
- Electric water heater: Turn off the breaker in your electrical panel.
- Gas water heater: Set the thermostat to “Pilot” or turn the gas valve off.
Never drain a water heater while it’s actively heating.
2. Shut Off the Cold Water Supply
Locate the cold water valve at the top of the heater and turn it clockwise to close it. This prevents new water from entering the tank while it drains.
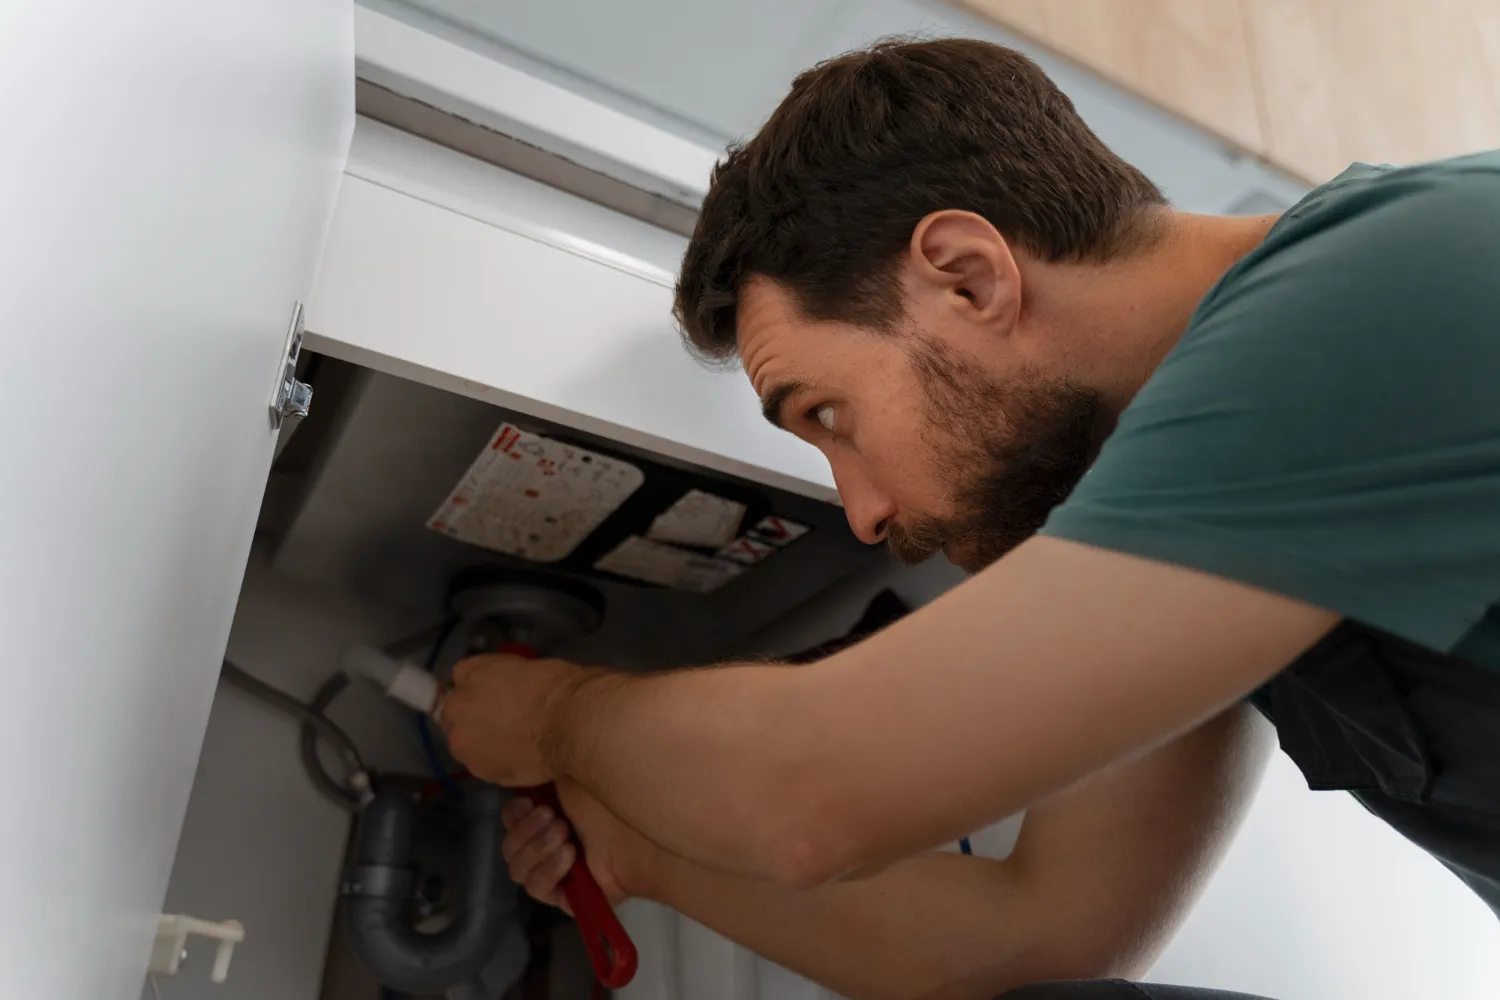
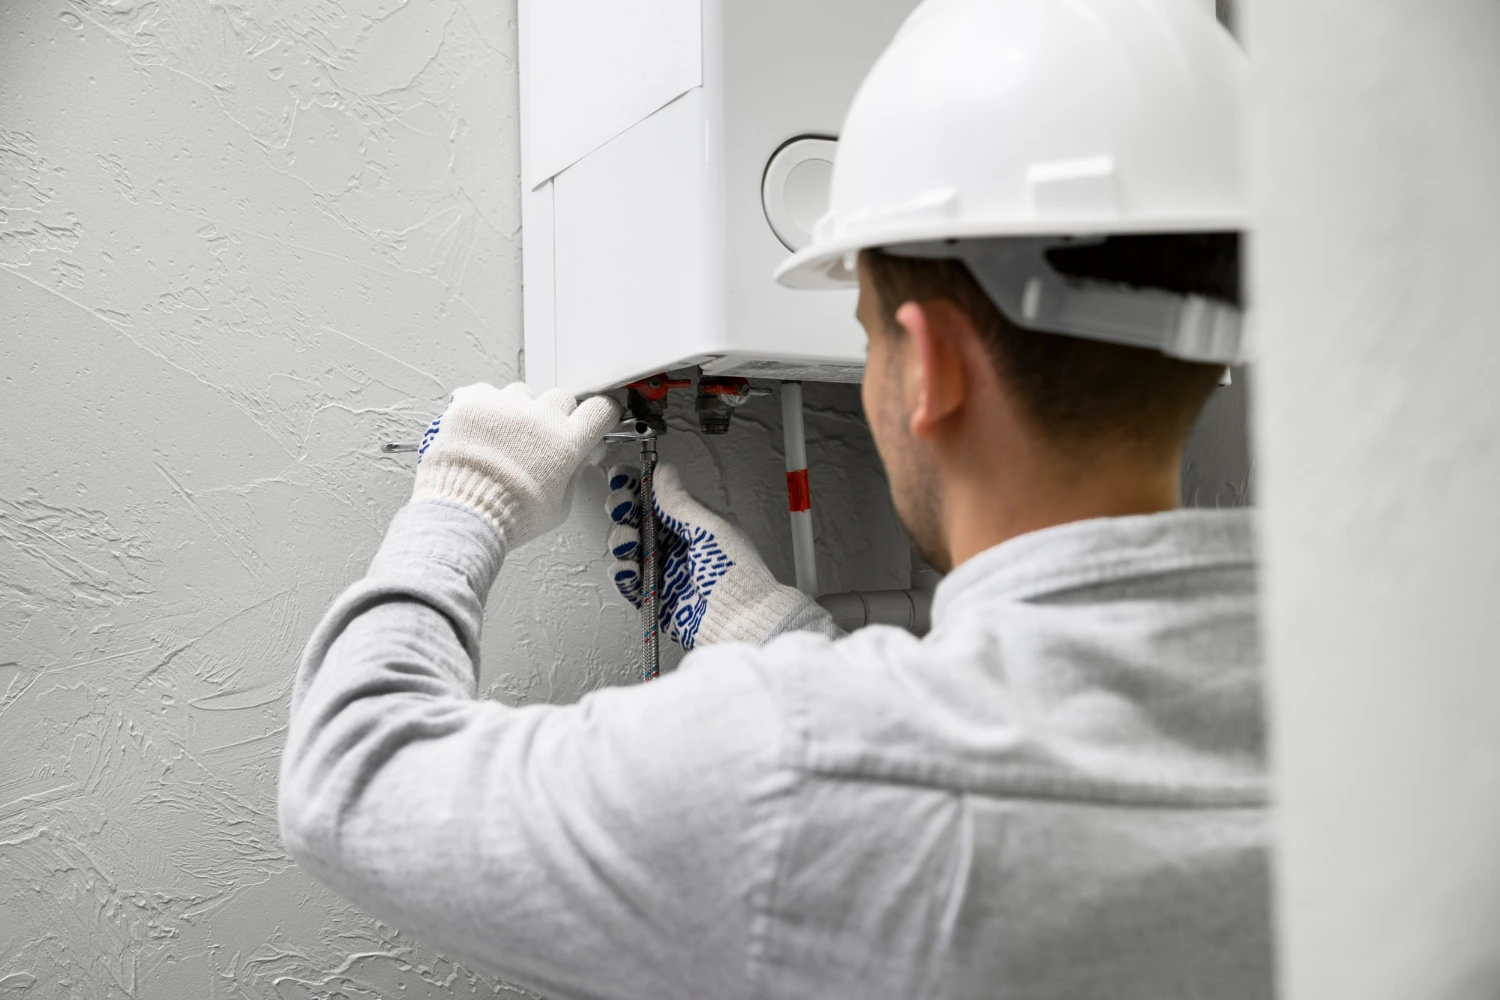
3. Attach a Hose to the Drain Valve
At the bottom of the tank, you’ll find the drain valve.
- Connect your garden hose securely
- Run the other end to a safe drainage area
Make sure the hose slopes downward so gravity can do its job.
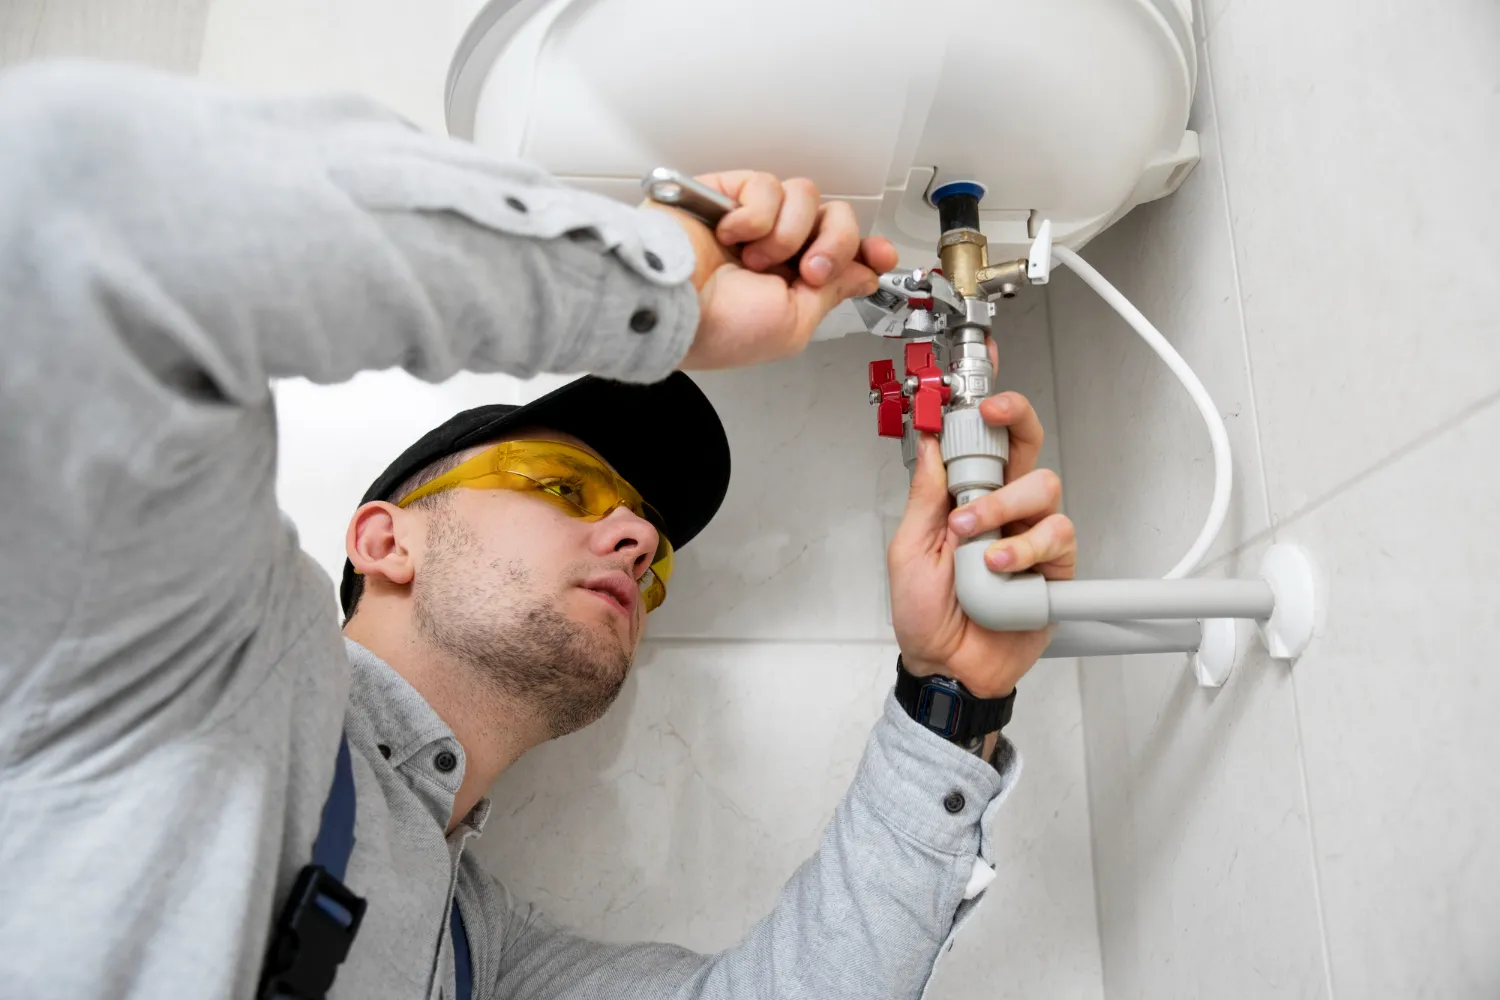
4. Open the Pressure Relief Valve
Find the pressure relief valve near the top or side of the tank and lift it slightly. This allows air into the system and helps the water drain faster.
5. Open the Drain Valve
Slowly turn the drain valve counterclockwise using a screwdriver or by hand.
Hot water will begin flowing through the hose. Let the tank empty completely.
If water flow slows or stops, sediment may be clogging the valve. You can:
- Briefly open the cold water supply to stir sediment
- Close it again and continue draining
Repeat until the water runs clear.
6. Flush and Refill the Tank
Once the tank is empty:
- Close the drain valve
- Remove the hose
- Turn the cold water supply back on
- Leave a hot water faucet open in your home
This releases trapped air. When water flows smoothly, close the faucet.
Now restore power or gas to the heater.
How Often Should You Drain a Water Heater?
Most professionals recommend draining your water heater:
- Once a year in normal conditions
- Every 6 months in areas with hard water
Regular flushing prevents sediment buildup and keeps your system efficient.
Common Mistakes to Avoid
Many homeowners damage their units by making these mistakes:
- Forgetting to turn off power or gas
- Draining while the water is extremely hot
- Not opening a hot faucet to release air
- Leaving sediment inside the tank
- Forcing stuck valves (which may break)
If a valve is stuck or leaking, stop immediately and call a professional.
When to Call a Professional
While learning how to drain a water heater is useful, some situations require expert help:
- Water won’t drain at all
- Drain valve is leaking or broken
- Tank is heavily rusted
- You hear loud banging or rumbling
- No hot water after refilling
These signs indicate deeper problems that DIY maintenance can’t fix.
A licensed technician can safely flush, repair, or replace damaged components before they turn into expensive emergencies.
Final Thoughts
Knowing how to drain a water heater is a simple skill that protects one of the most important appliances in your home. Just one annual flush can:
- Lower energy bills
- Improve hot water quality
- Prevent major breakdowns
- Extend the life of your heater
If your system is old, noisy, or not performing as it should, professional service may be the smarter choice. Regular maintenance today can save you from a complete replacement tomorrow.